Week 8: CNC Milling, Molding & Casting
Milling Topography in Wood
I prepared 2 files last week with the objectives of practicing milling wood on the ShopBot and practicing milling wax on the SRM machine.
First, I knew I wanted to mill a topographic map of Mount Kenya for a friend, so I researched tutorials for translating a digital elevation model (DEM)
to an STL file that would be compatible with the CNC machines at our disposal.
I discovered a website called Terrain2STL that allows you to input latitude and longitude coordinates and export an STL model of your chosen terrain. Amazing!
Then, I found a tutorial on how to clean the terrain STL in blender and finalize the geometry in Fusion360. I've embedded screenshots of my process below.

Mount Kenya, elevation: 17,057 feet!
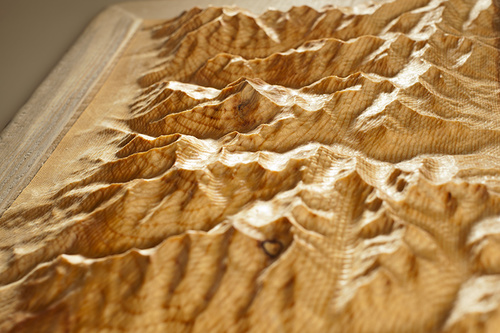
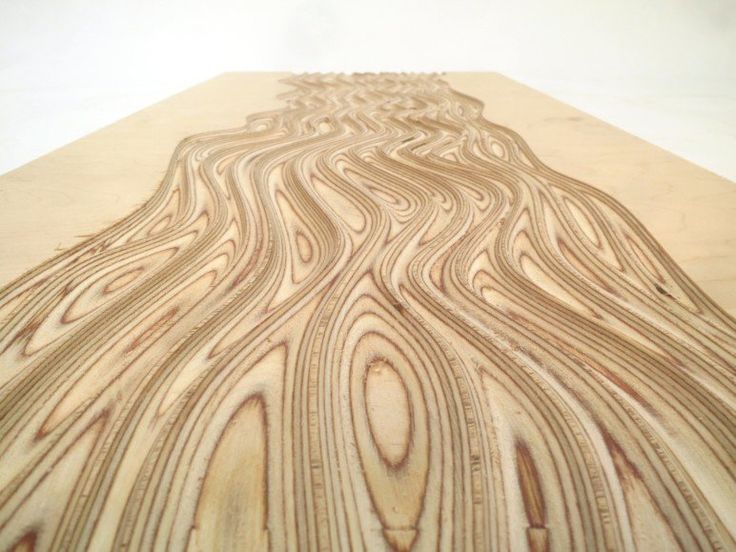
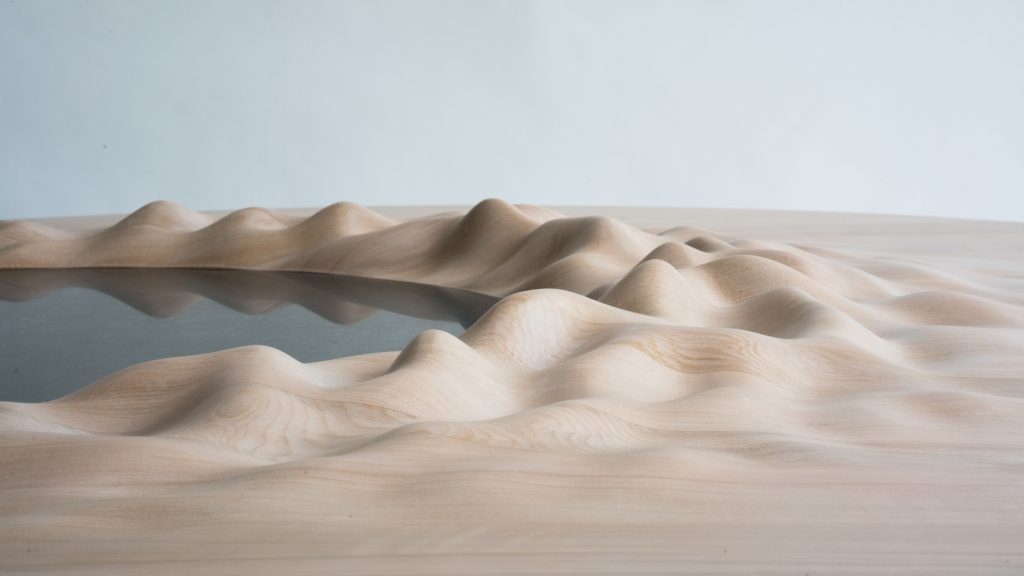
Inspiration Images
Process Images
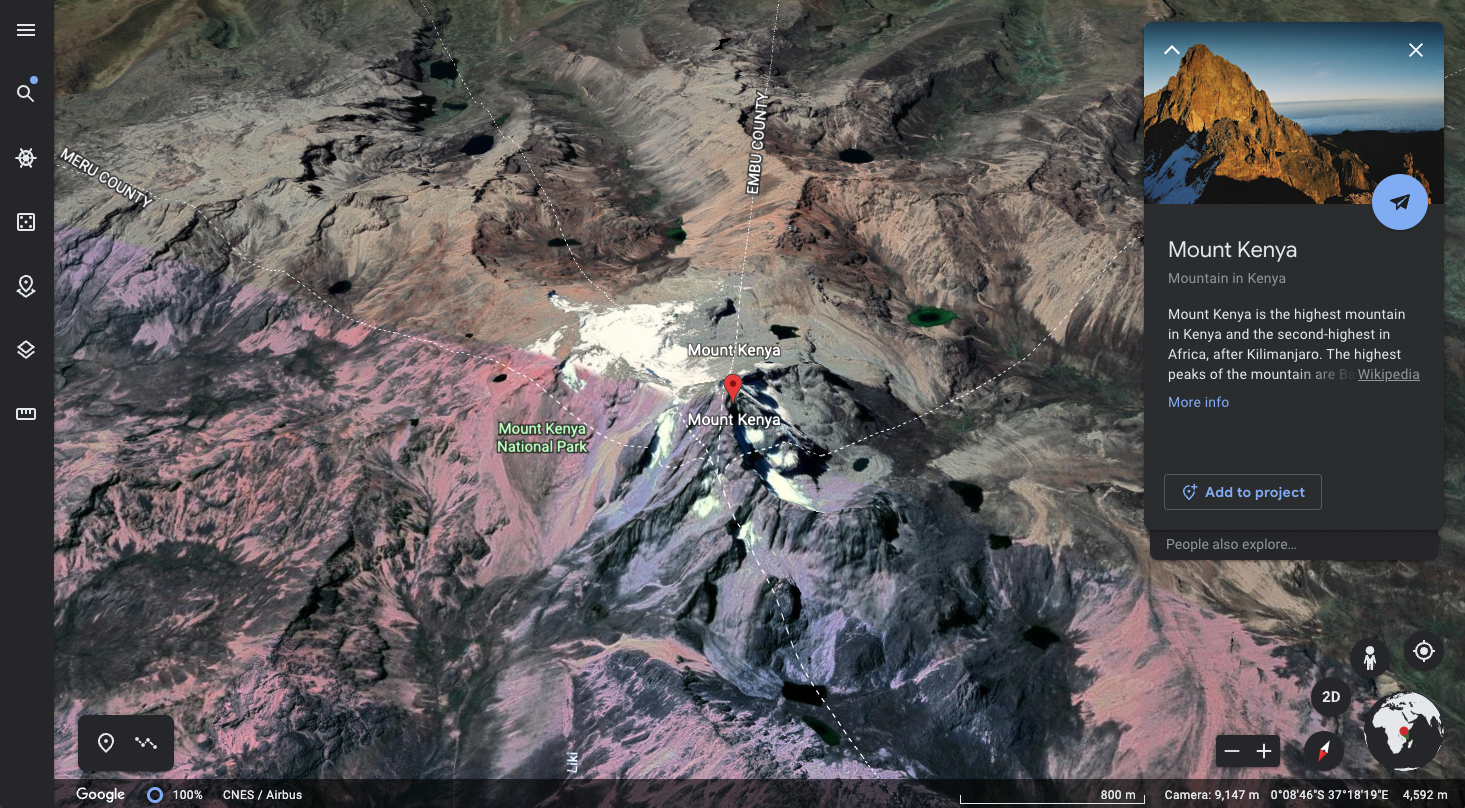
Using Google Earth to grab the exact coordinates of Mount Kenya.
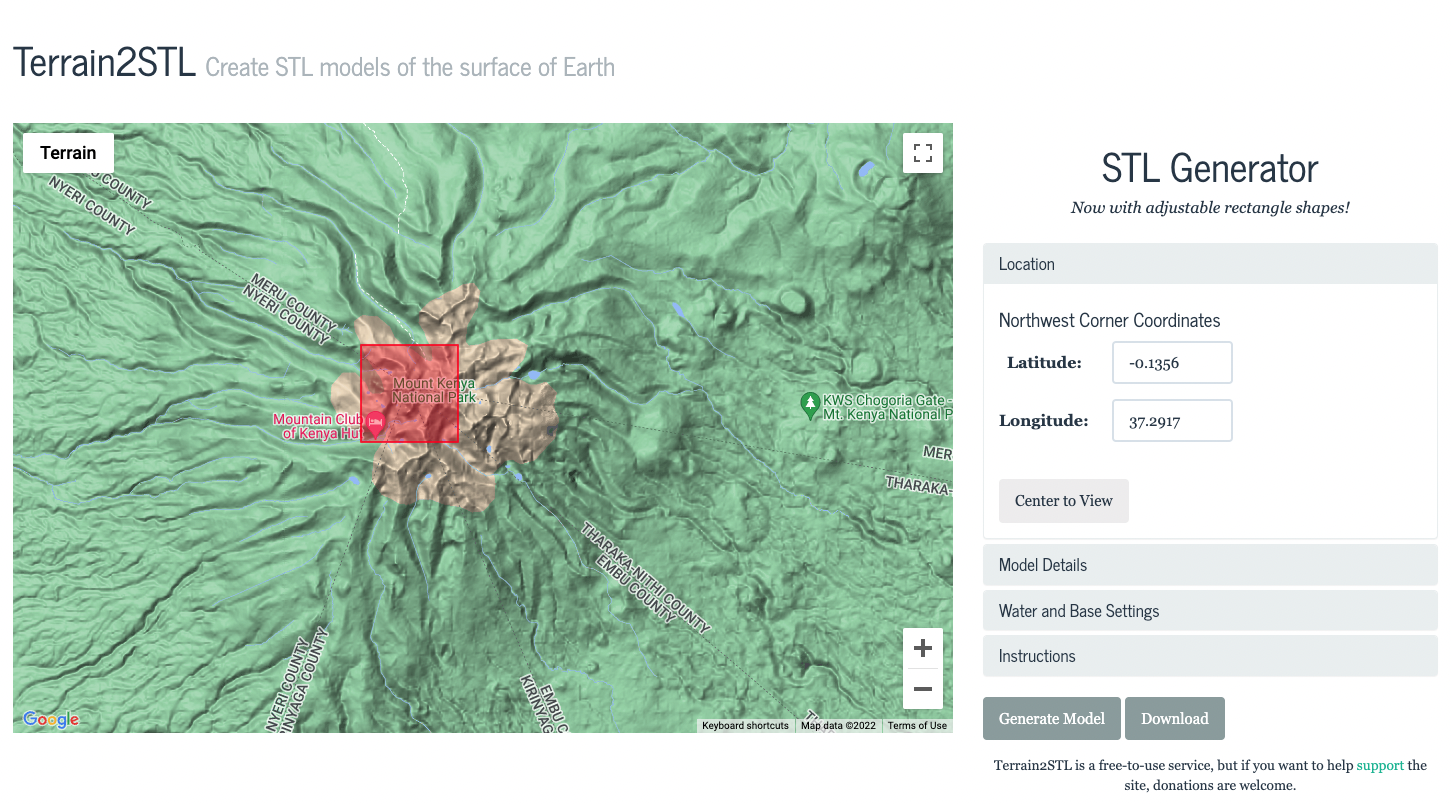
Bringing the coordinates into Terrain2STL and adjusting frame.
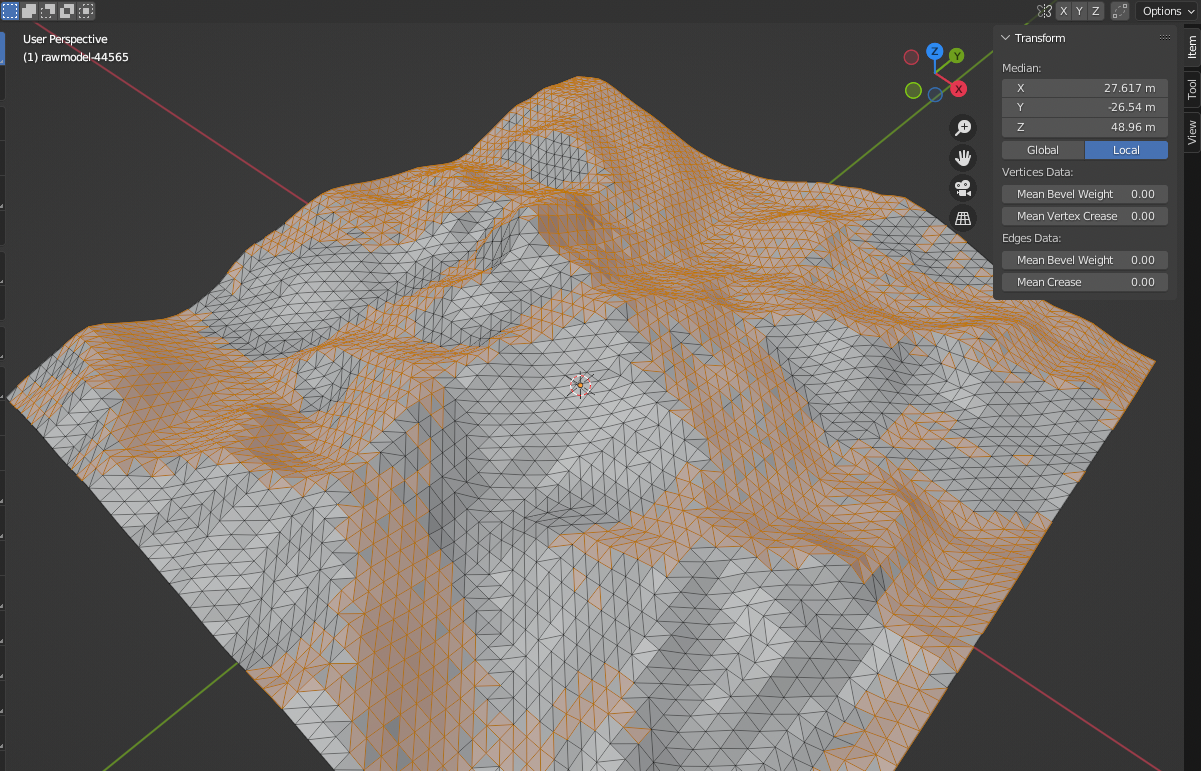
Editing STL in Blender, changing triangle mesh to quad mesh.
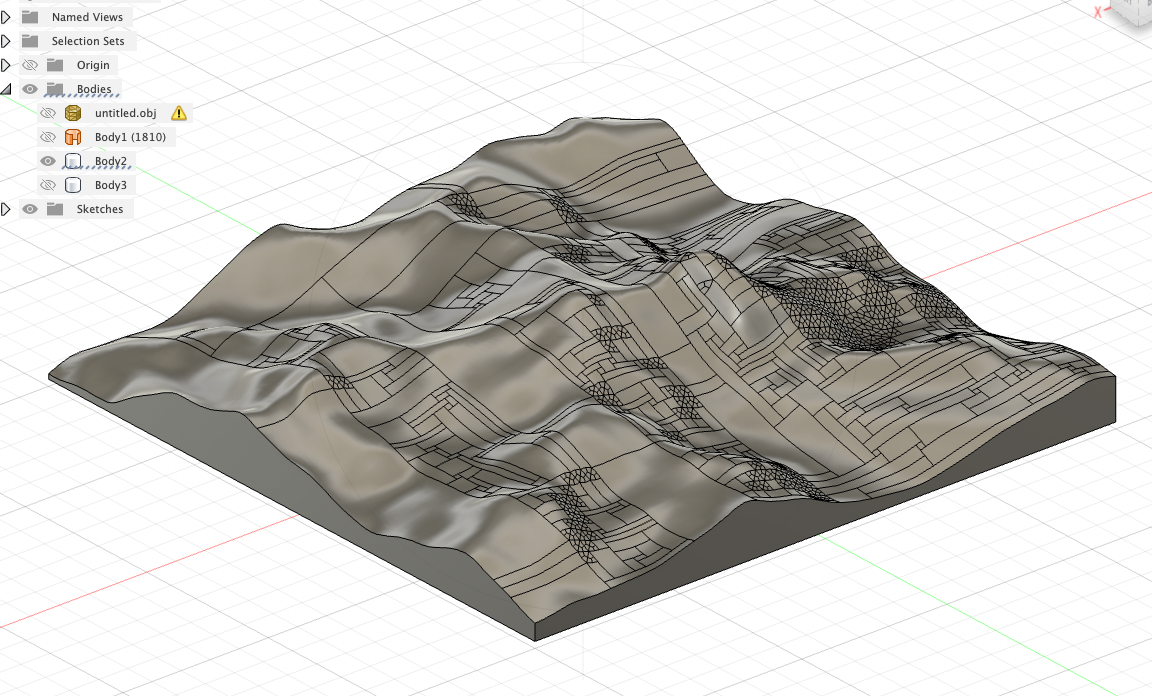
Defining height of the block in Fusion360 and prepping it for export.
Getting the Material Ready
Although I had only practiced using the ShopBot with the OSB, I didn't want to use that material for my design. In addition, the process of milling the topography would
inevitably be more complex than the simple example we were given in class. Ibrahim had suggested I use 2 pieces of plywood glued togethger to give the elevation more depth.
I attached the pieces I found with wood glue and clamped them to a table in SC102 overnight. On Tuesday, Ibrahim helped me set up the file for the ShopBot.
The tutorial I found had suggested I prep the file in Fusion360 for milling, but we used Aspire instead.
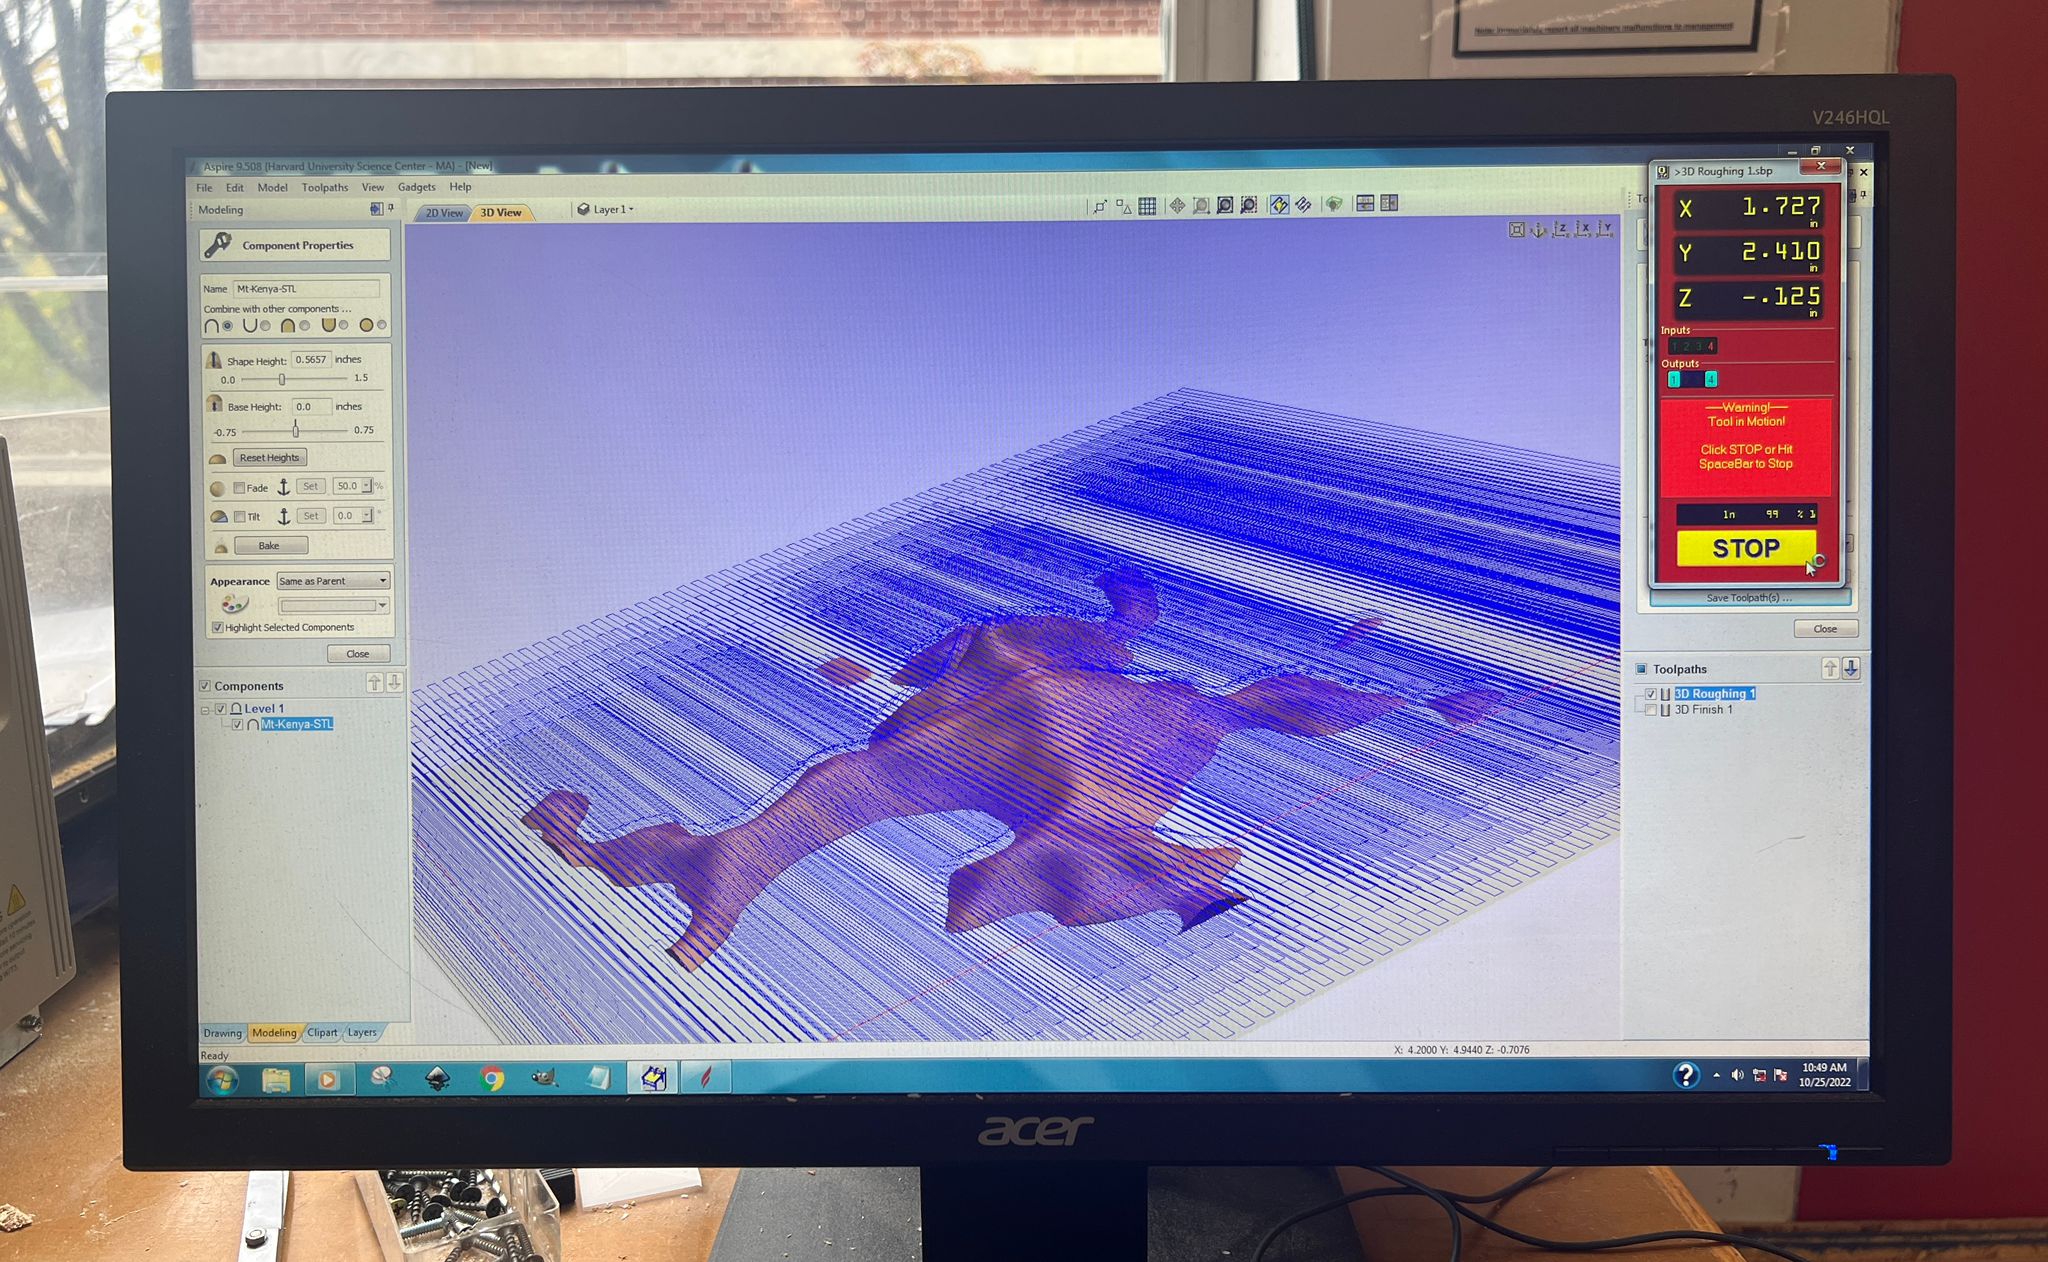
Nathan helped me import the STL file and prep it in Aspire. This required shortening the height of the model
because we anticipated that the length of the bit would not be able to cut all the way down the 1.5" height of
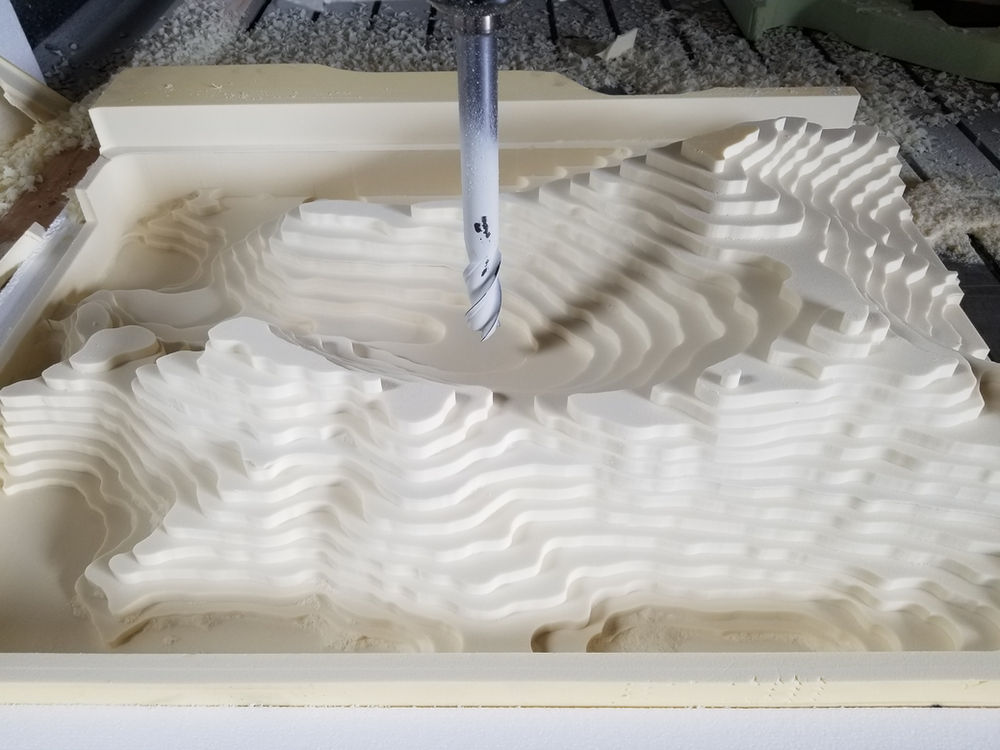
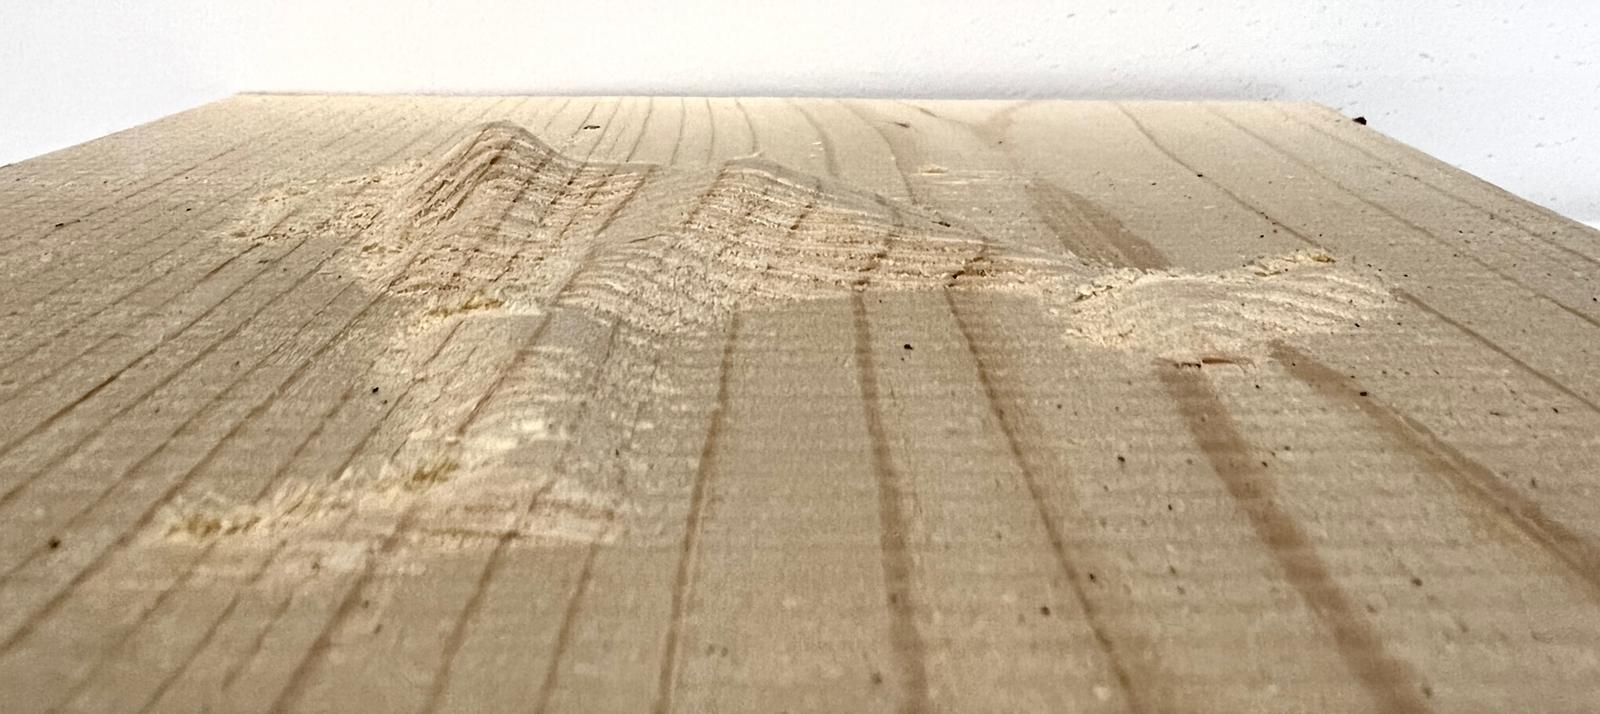
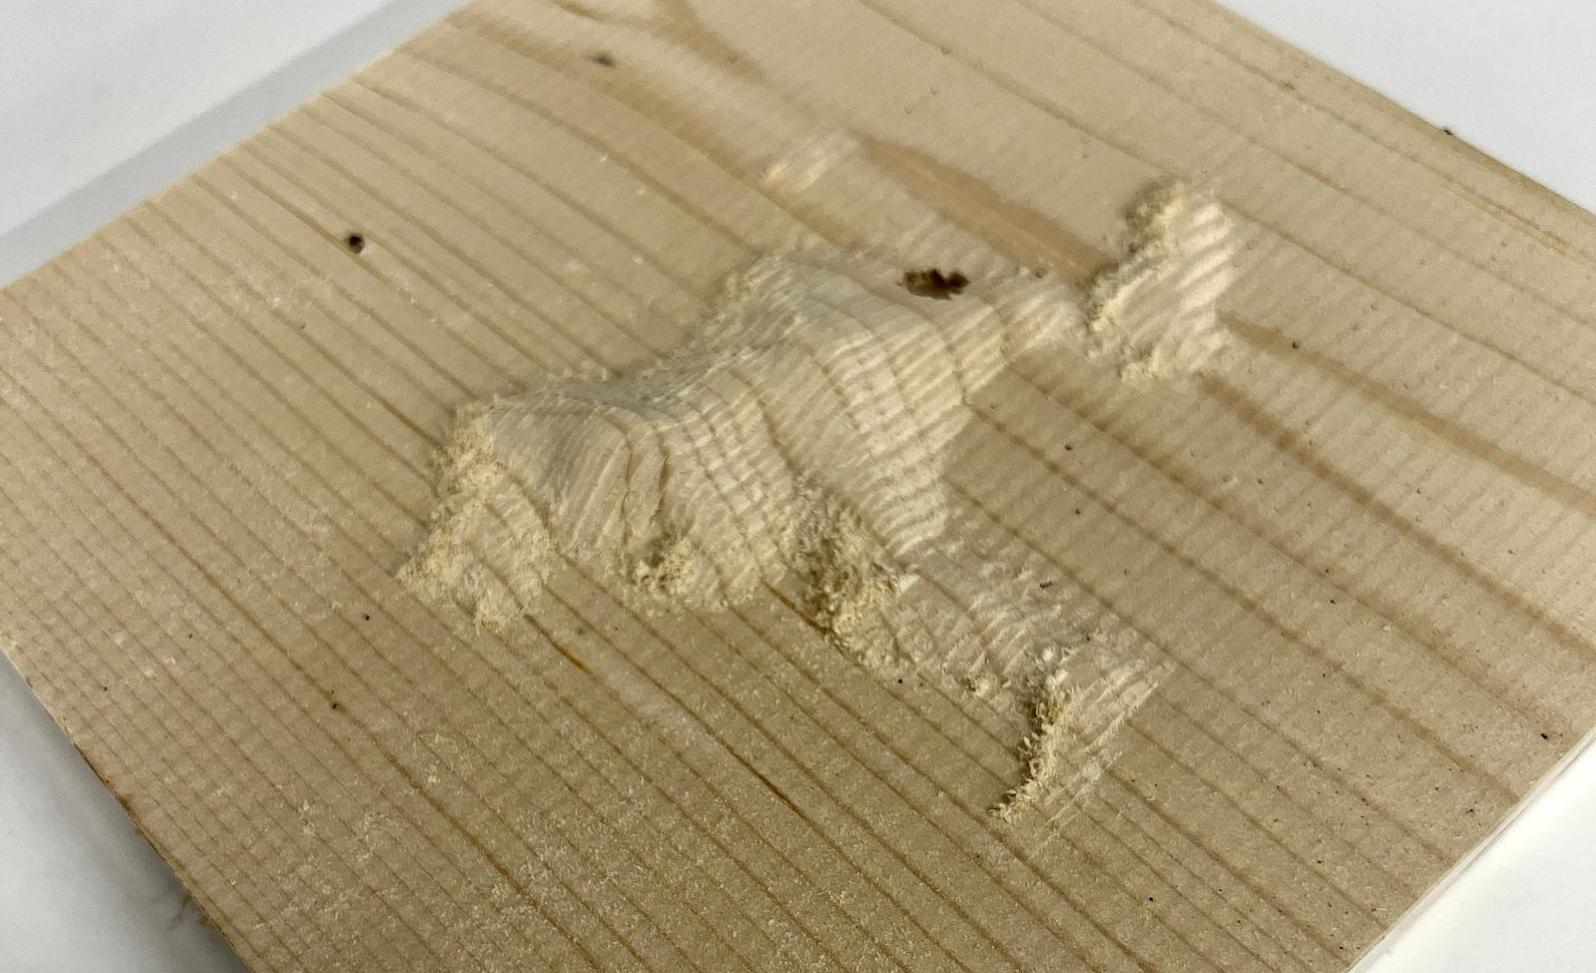
the plywood board I prepared. The photo of the program below shows how much we were able to mill out.
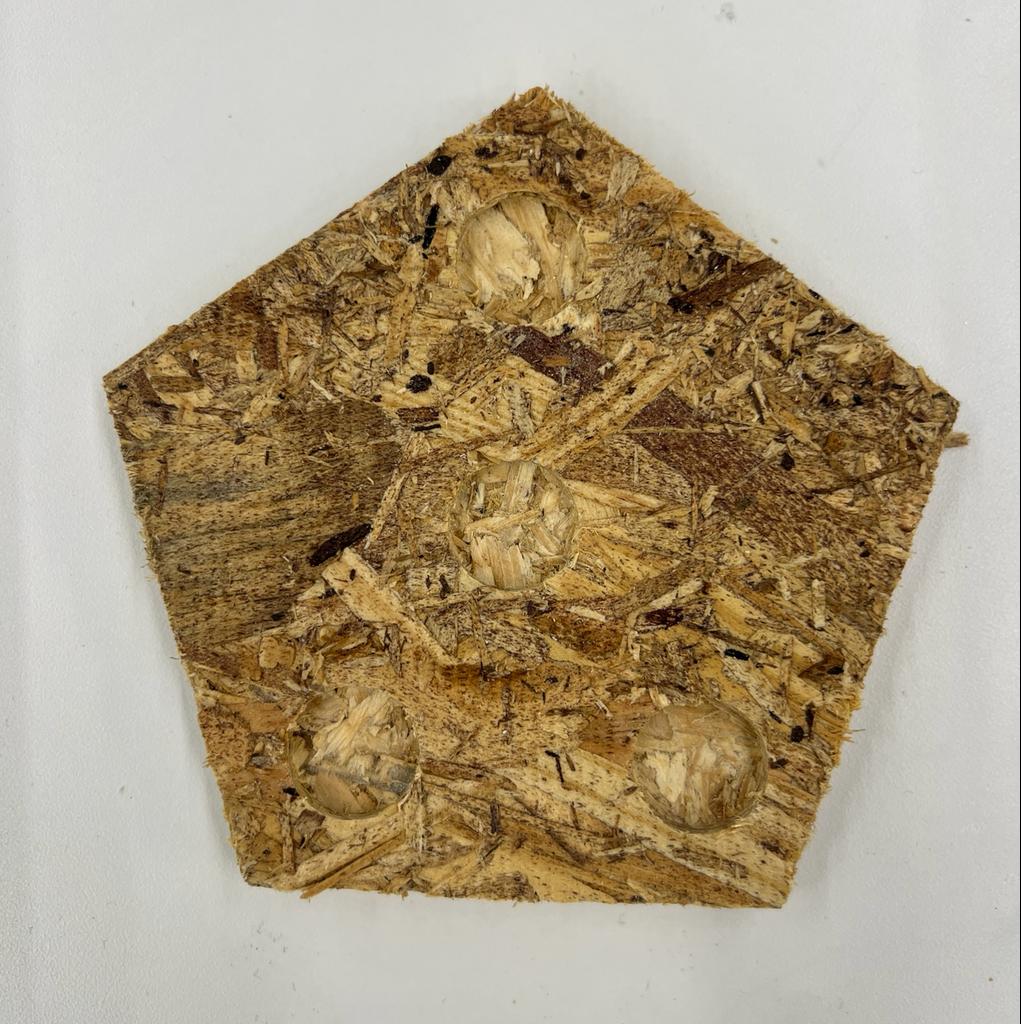
My first run on the ShopBot, practicing full cuts and pocket cuts.
Milling the Mountain
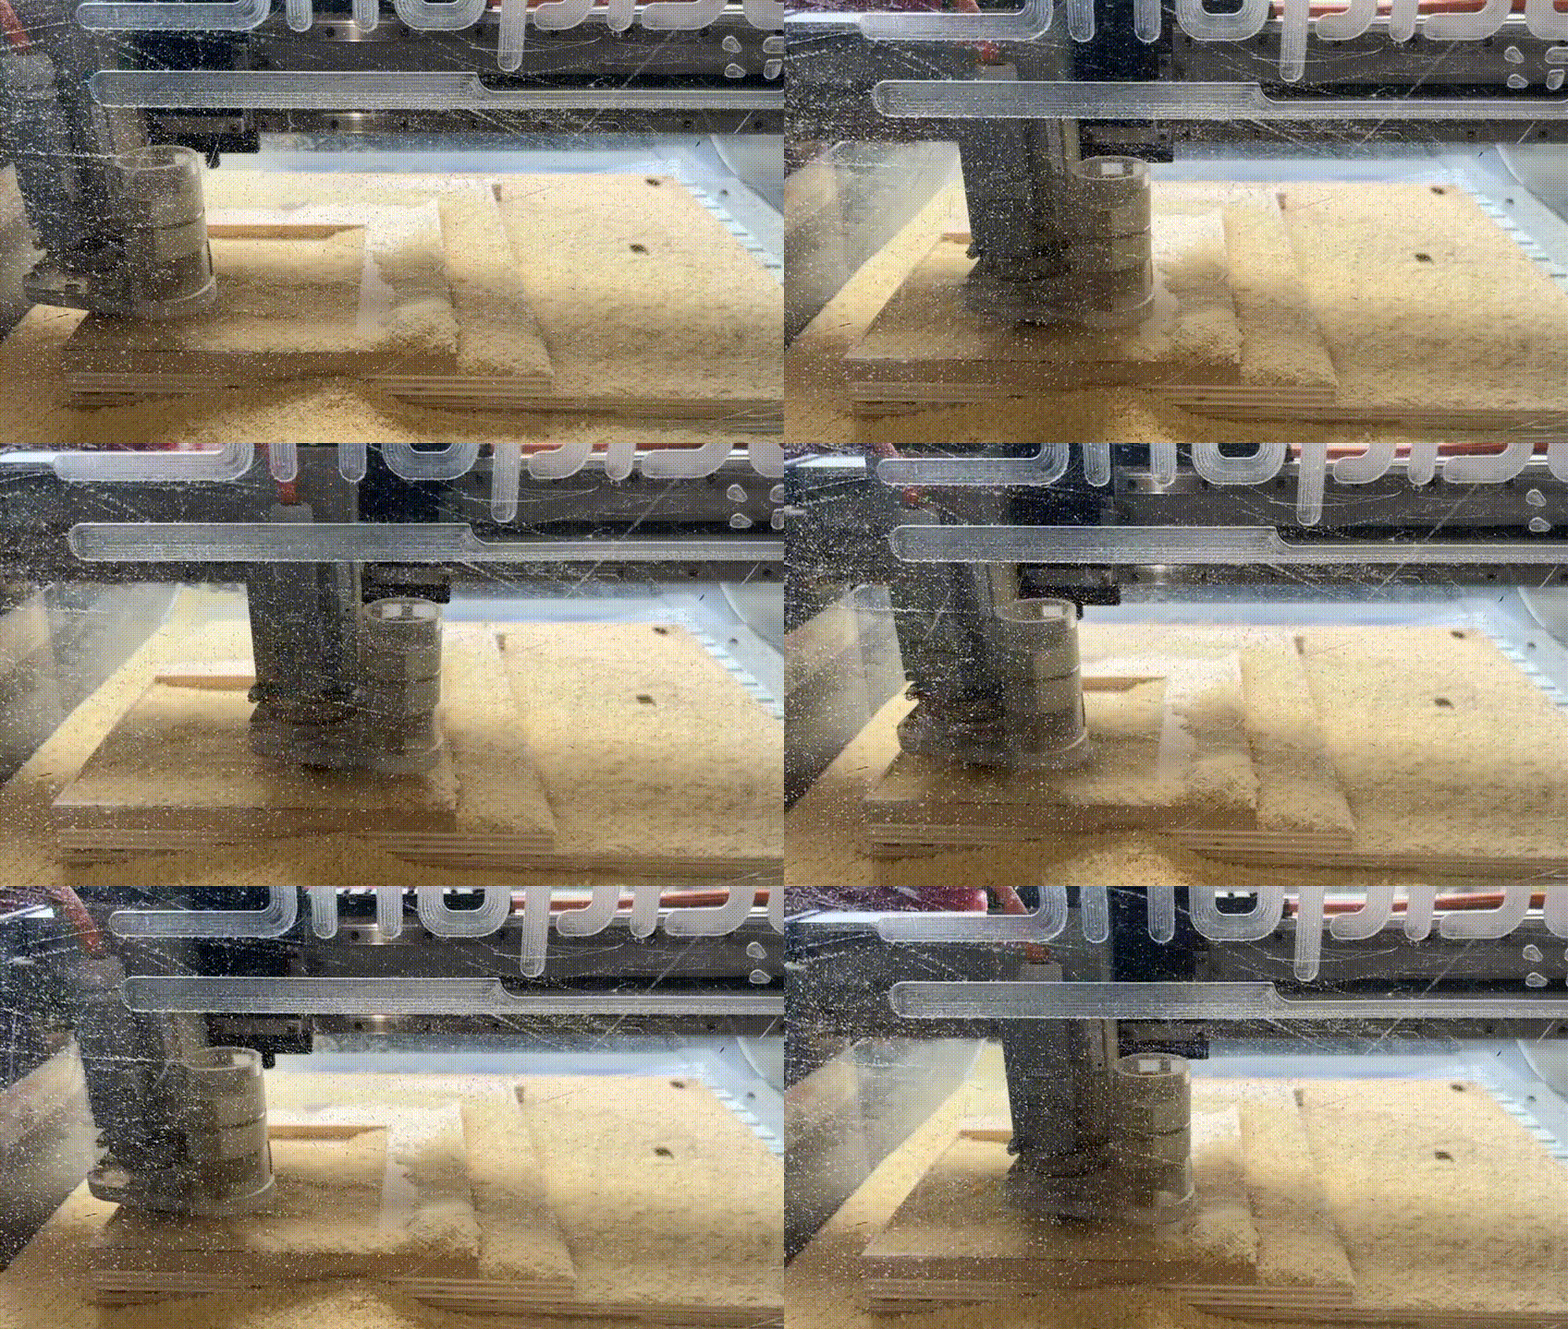
Halfway There...
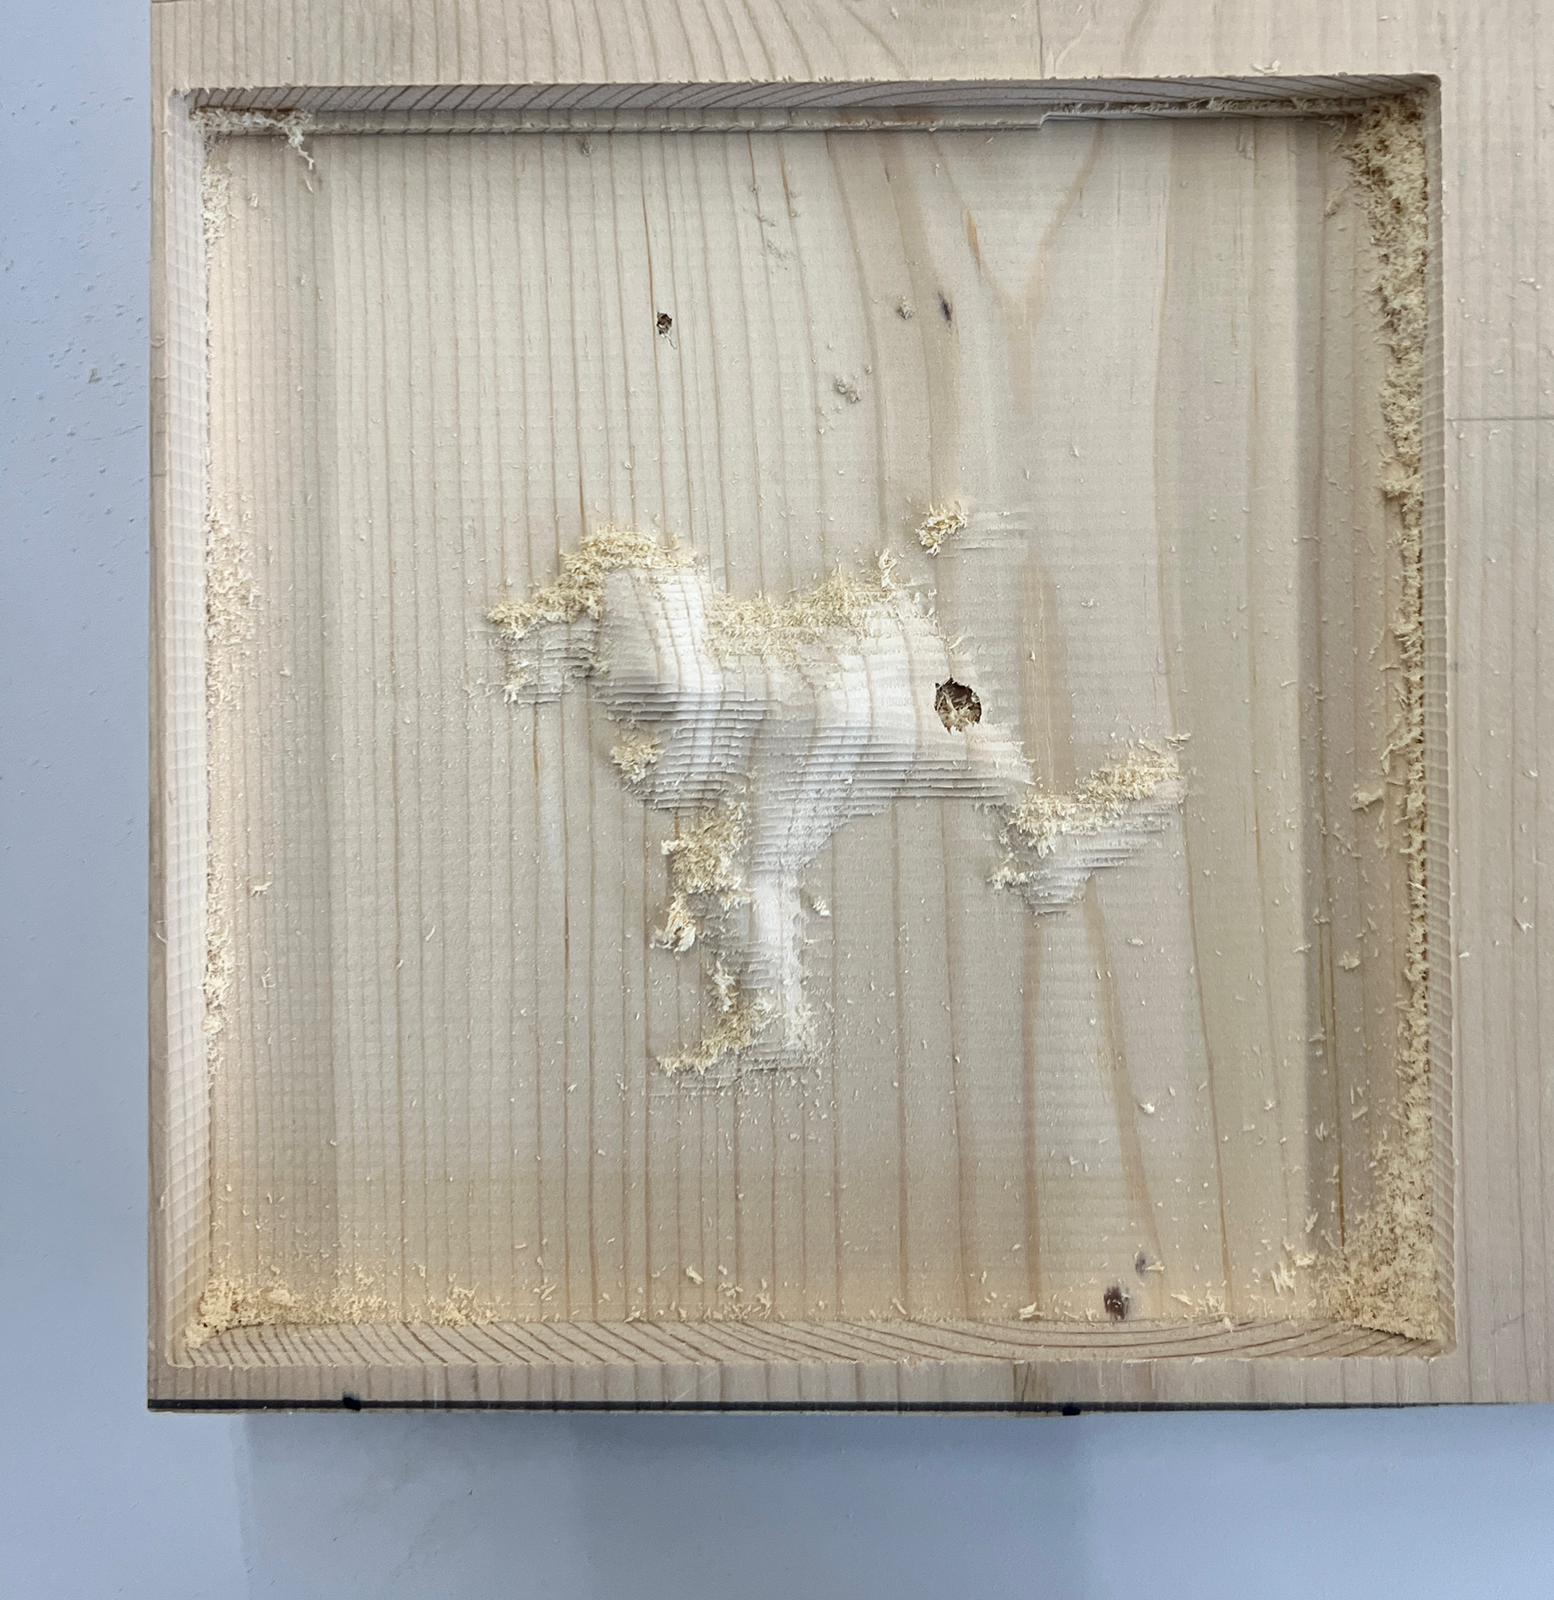
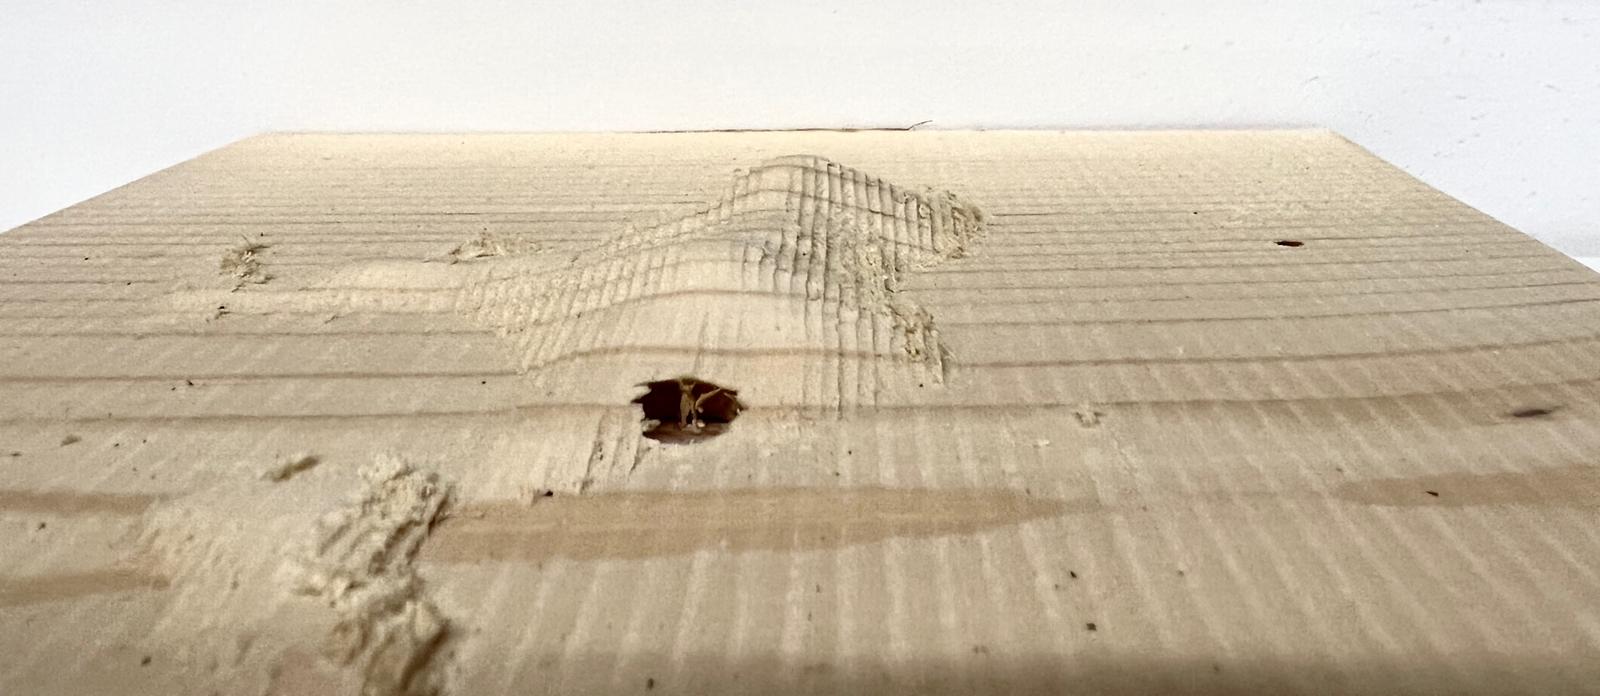
Wax and its Discontents
I will preface this section with the fact that I had a bunch of trouble with the SRM machine; Kassia was really gracious and helpful with troubleshooting, but when we finally got my milling job to work, the outcome was pretty mediocre. My initial idea was to mill a wax mold of mushrooms of different sizes. I wanted to use that mold to create a food-safe silicone mold in which I would cast mushrooms out of chocolate, or even better, truffle butter. Initially, I thought I would just do a 2.5D profile of my mushrooms, so I prepped my Fusion360 file to reflect that direction (3 mushrooms flattened within a box). However, I followed Ibrahim's suggestion during lab to include small columns for each mushroom: one would become the channel for the silicone solution, and one channel would be for air to escape the mold as to avoid air bubbles. Then, I made 2 versions of my file with pegs and holes that could theoretically lock together, making a fully 3D mold that would round out the mushroom shape. On to milling!
One side of the mushroom mold.
Troubleshooting with SRM-20
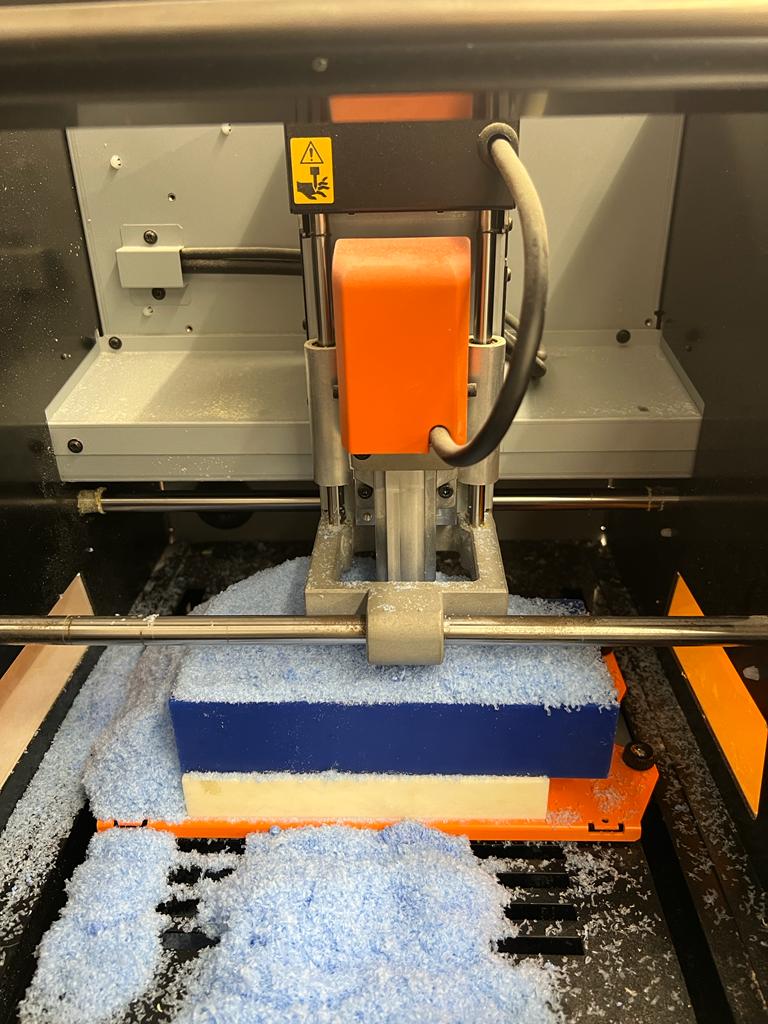
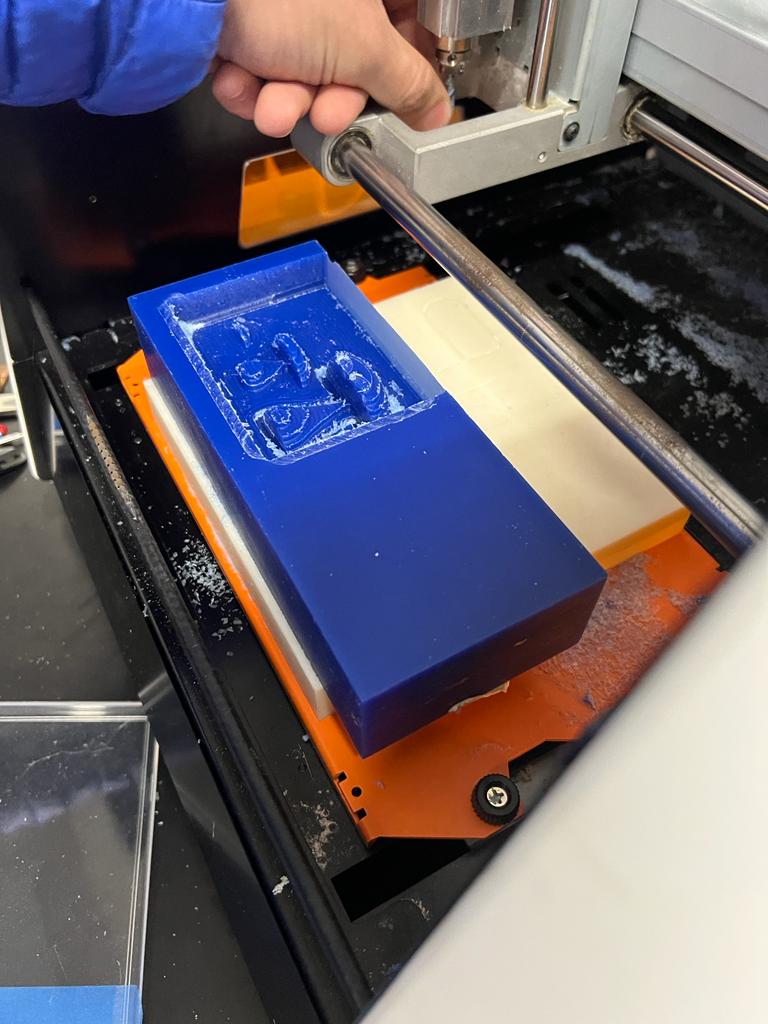
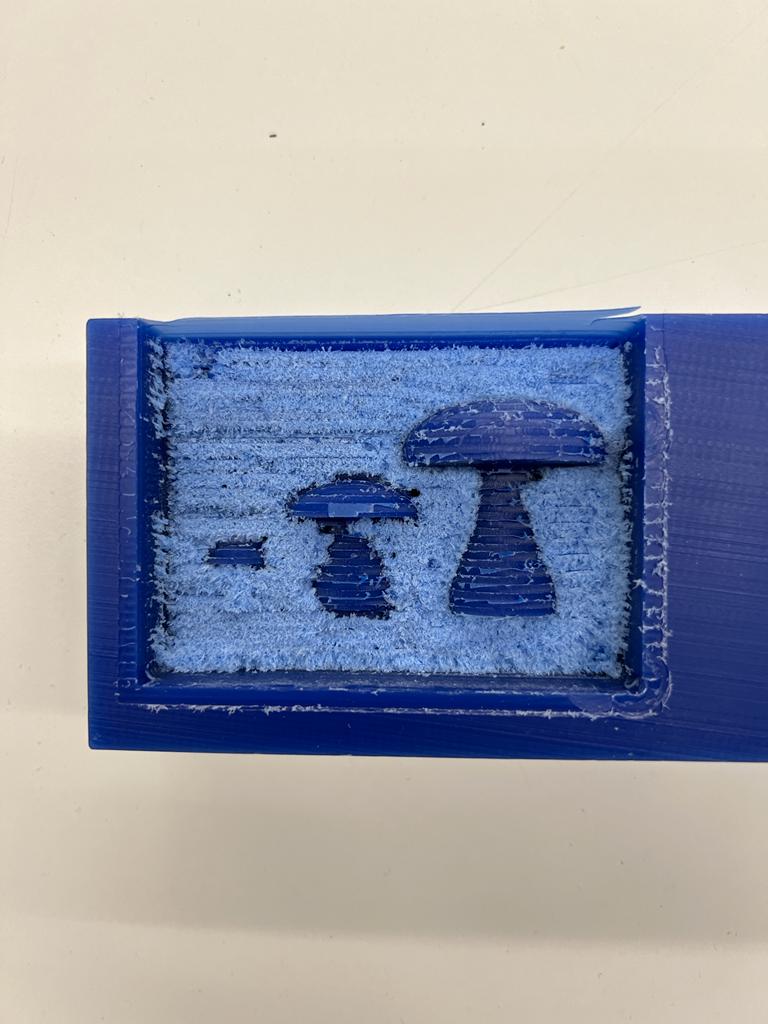
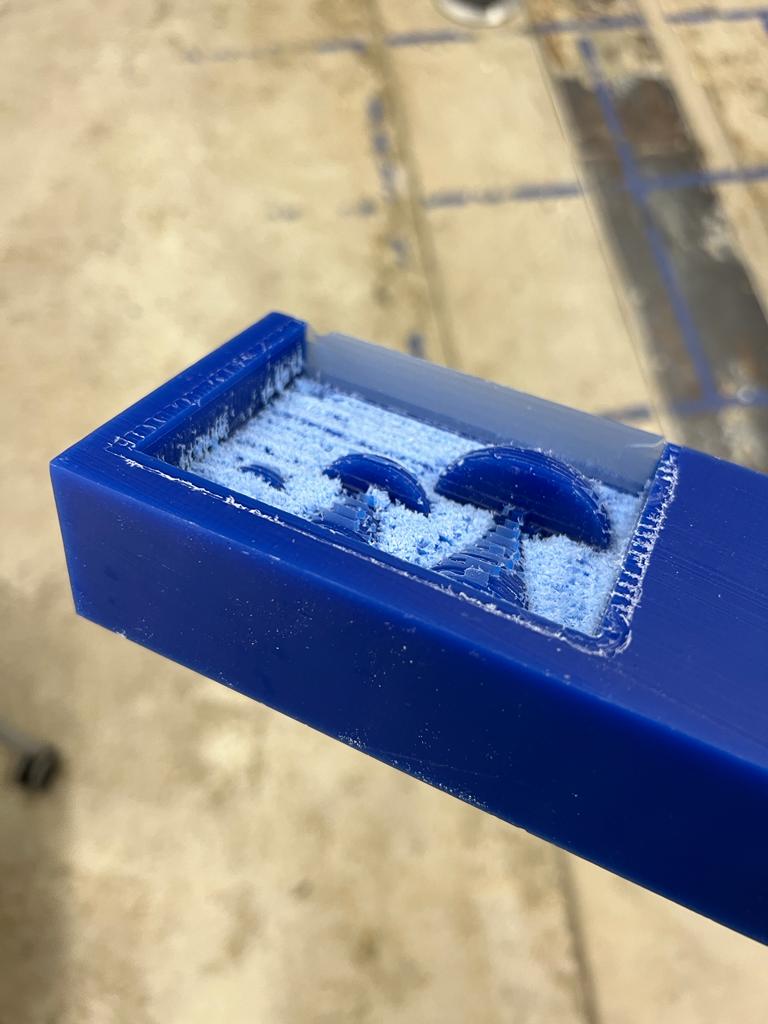
I thought I had been oh so proactive by trying to mill my mold on Friday afternoon, but ended up encountering very many struggles with the machine. First, I did a rough pass using the 2.5D STL settings, which the website suggested. This came out okay, but the print probably took a full 1/1.5 hour(s) and created a comically large amount of wax dust inside the machine. I noticed that the rought cut didn't make a dent in my smallest mushroom or the columns below, which I attribute to using too large of a drill bit (1/8 inch). However, I wanted to see the whole print through and decided to set up the finishing pass.
Epic Fail
For the finishing pass, I swapped the drill bit for 1/16 inch and adjusted the workflow for the 3D STL. Kassia and I encountered an error where the milling job would just fail within the first 10 seconds of the print, which we fixed by adjusting the Z-height of the bit higher. The rest of the print went fine; however, when I went to get my block from the interior space, it wasn't totally refined and a bunch of wax dust was caked to the bottom. No one knew how this had happened, and because the jobs had taken so long, I walked away from the SRM-20 both defeated and galvanized to pursue another option. Overall, I think it would have been much easier to cut something with a 2D profile (like the cartoon example) rather than something with smooth, curved geometry. Nathan suggested that I may have had the settings for the 1/8" bit instead of the 1/16" bit, so that's why the grooves came up.
Pivoting to a 3D-Printed Mold
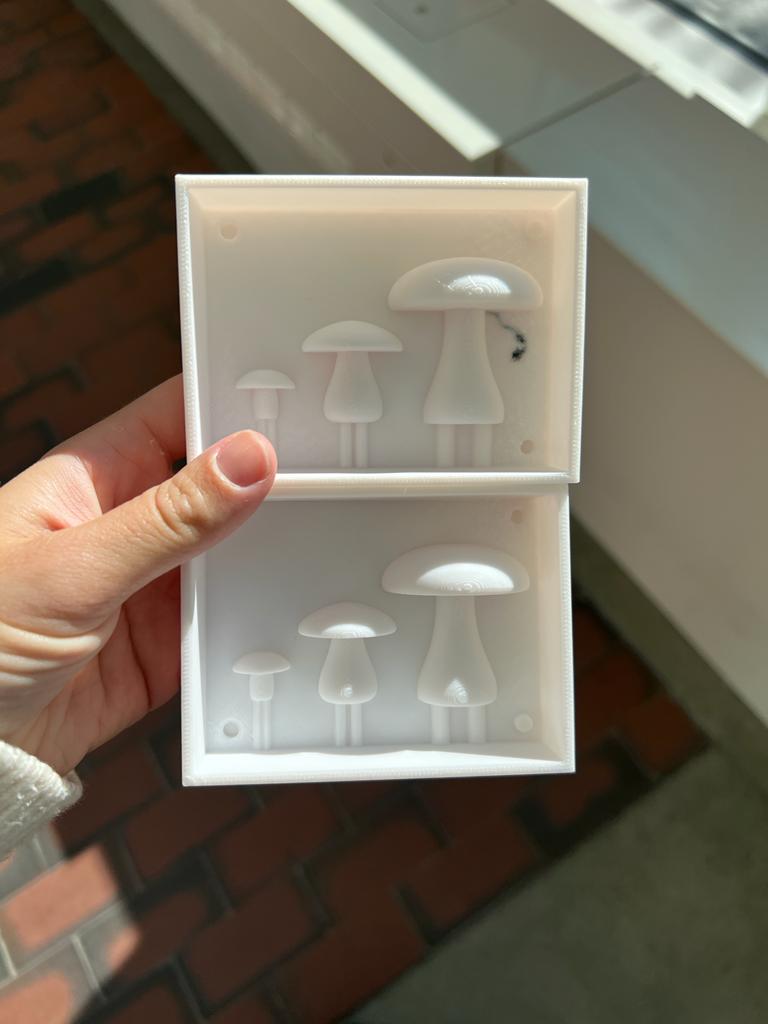
Luckily enough, I had 2 ready-to-print STL files. I set them up on the Prusa and let them print overnight. I made a couple slight adjustments to
the design that I hadn't done for the wax process, so there was a silver lining to all of this. I made 2 versions of the mold with opposite pegs,
hoping I could pour the SORTA CLEAR 37 and made fully 3D mushrooms with the molds combined.
However, I shouldn't have switched just the pegs; I should have actually flipped the direction of the mushrooms instead. The
molds are the same orientation when I needed them to be a perfect mirror of one another. This was disappointing because I had
been troubleshooting a couple times now, but I decided to proceed with making 2.5D versions of my mushrooms.
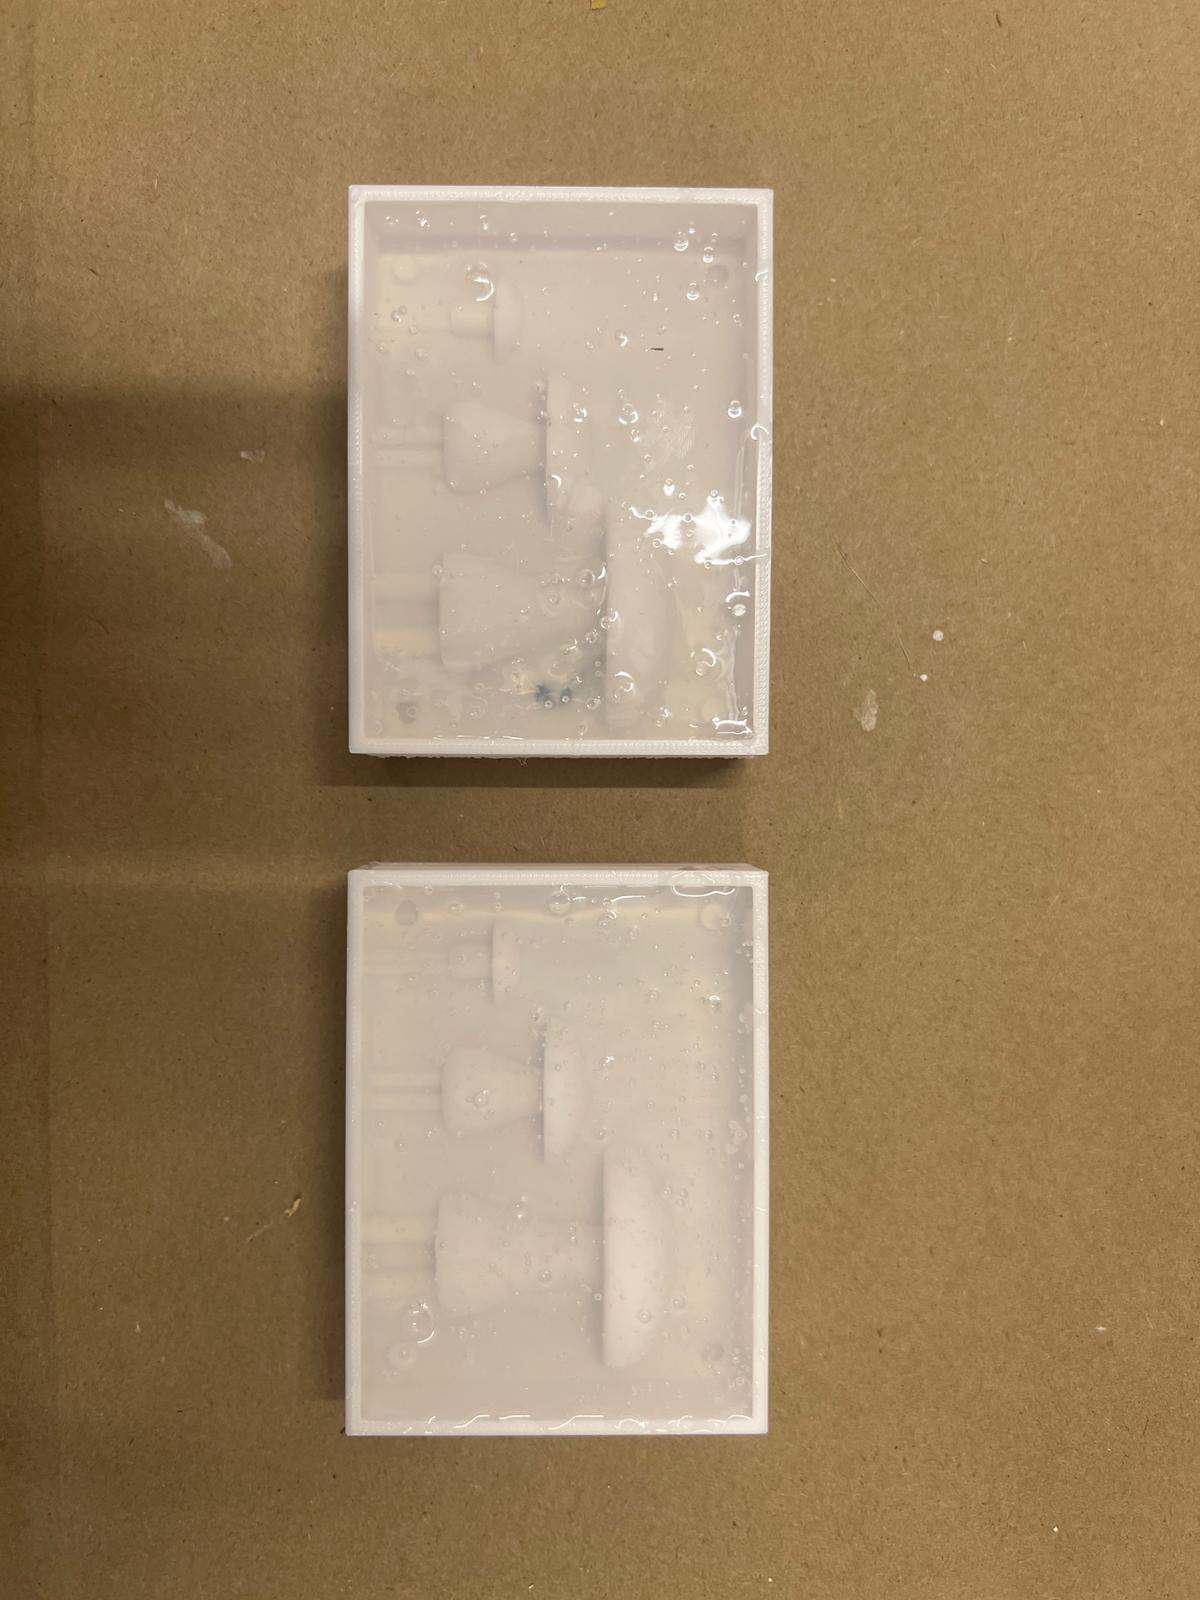
Sorta Clear, Sorta Bubbly
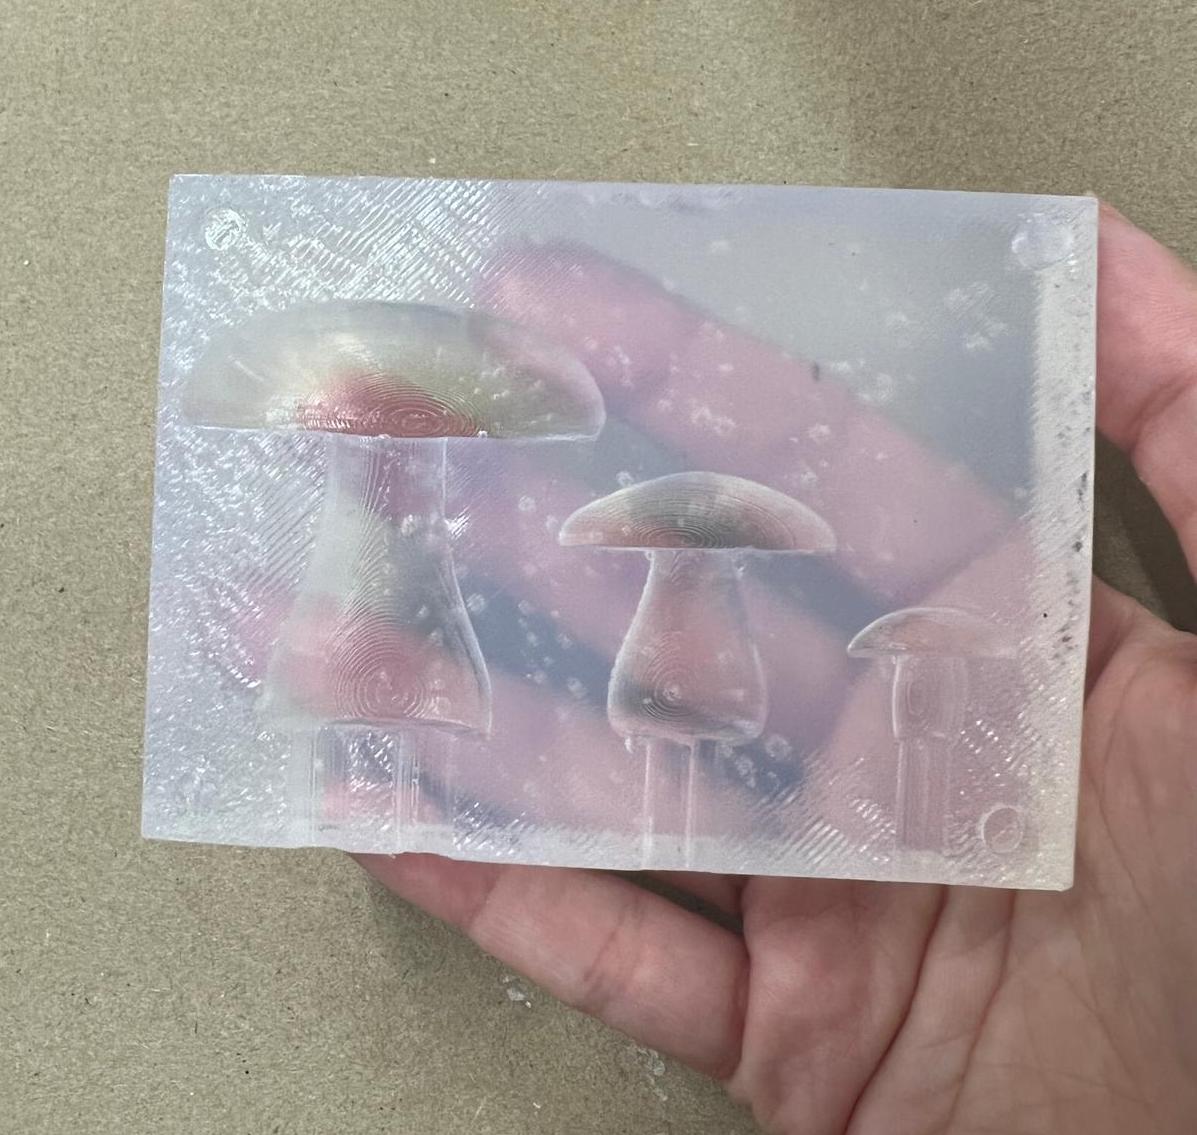
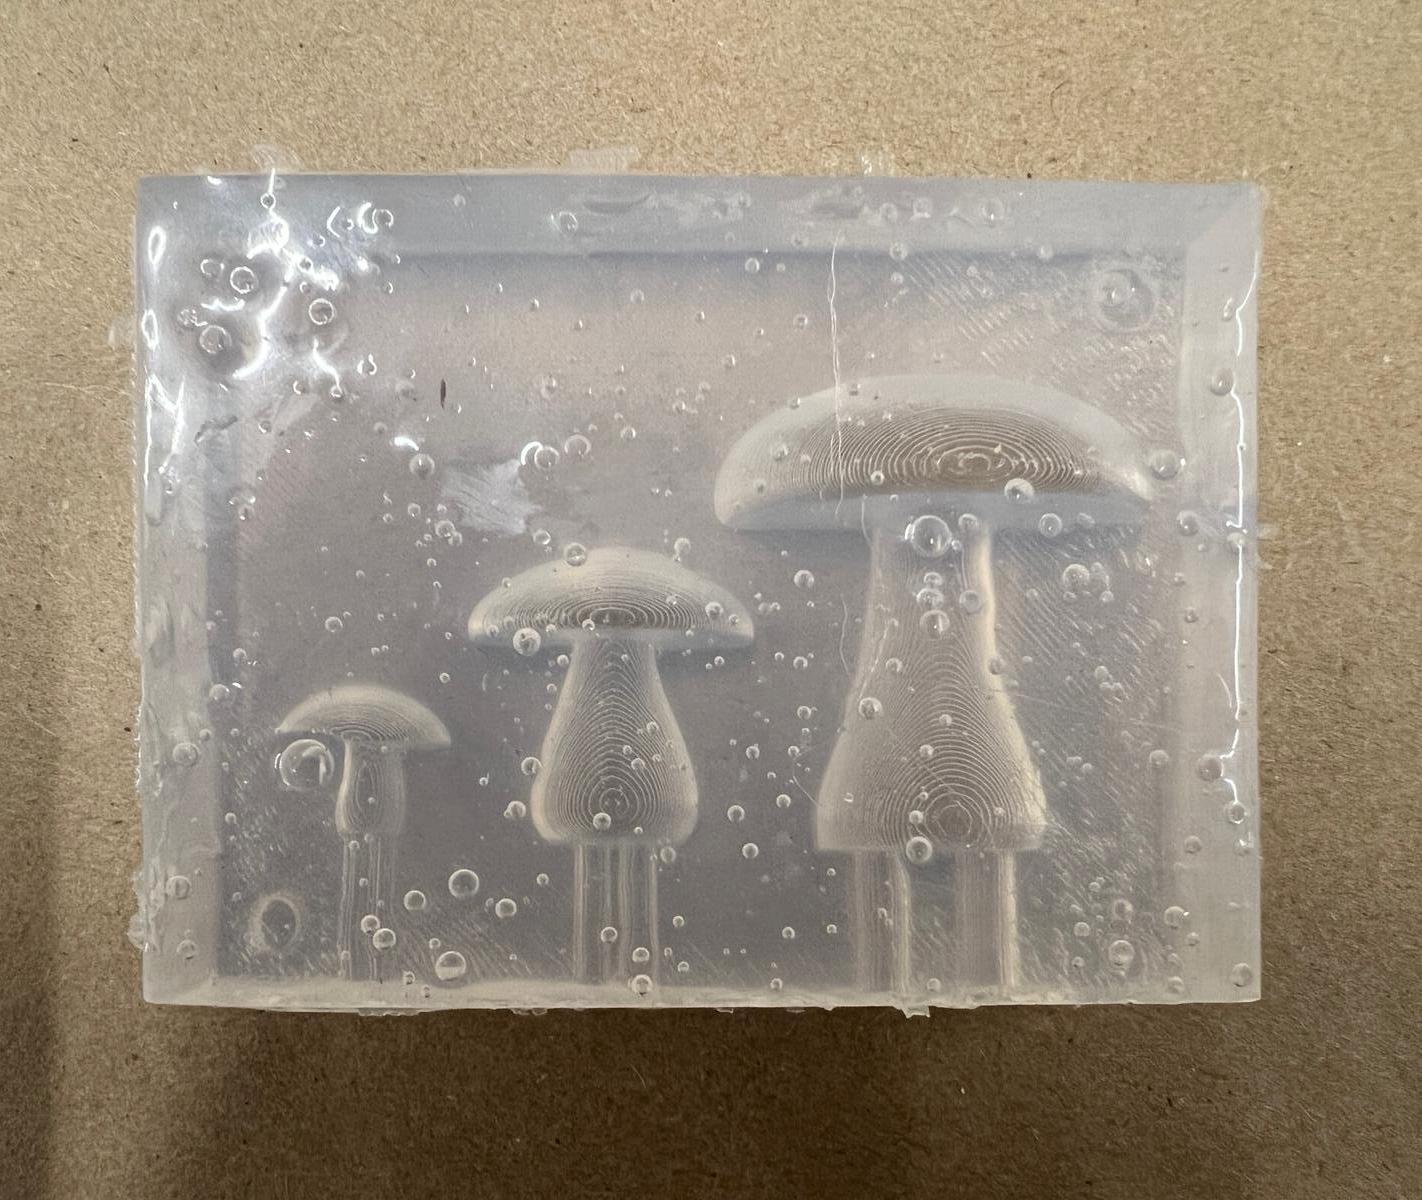
Casting the Chocolate Mushrooms
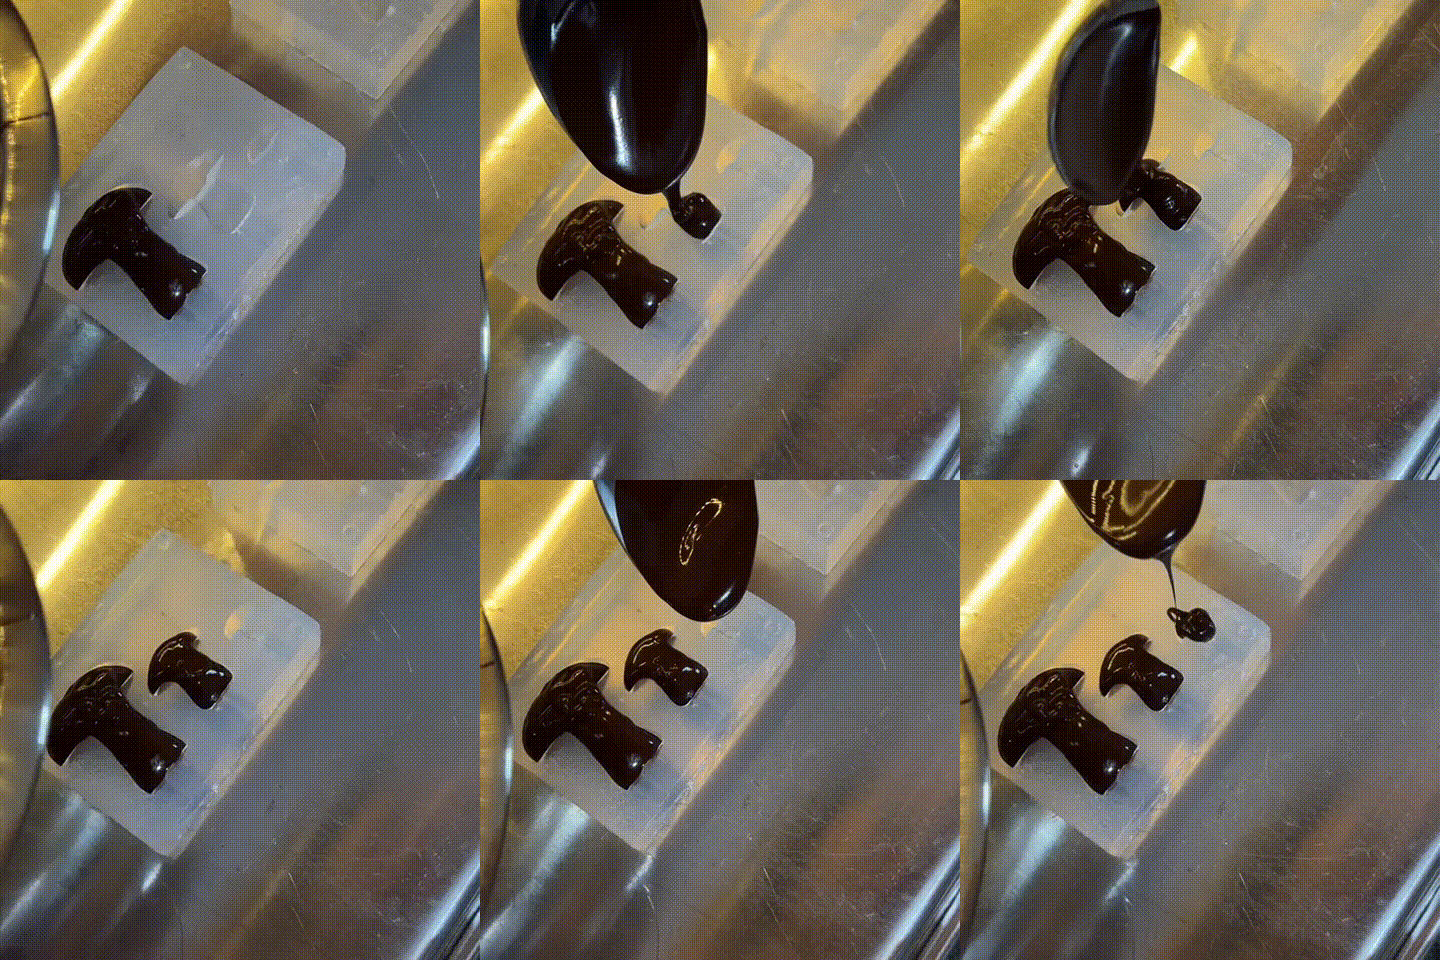
Since I used the food-safe silicone, I bought chocolate chips and tempered them at home.
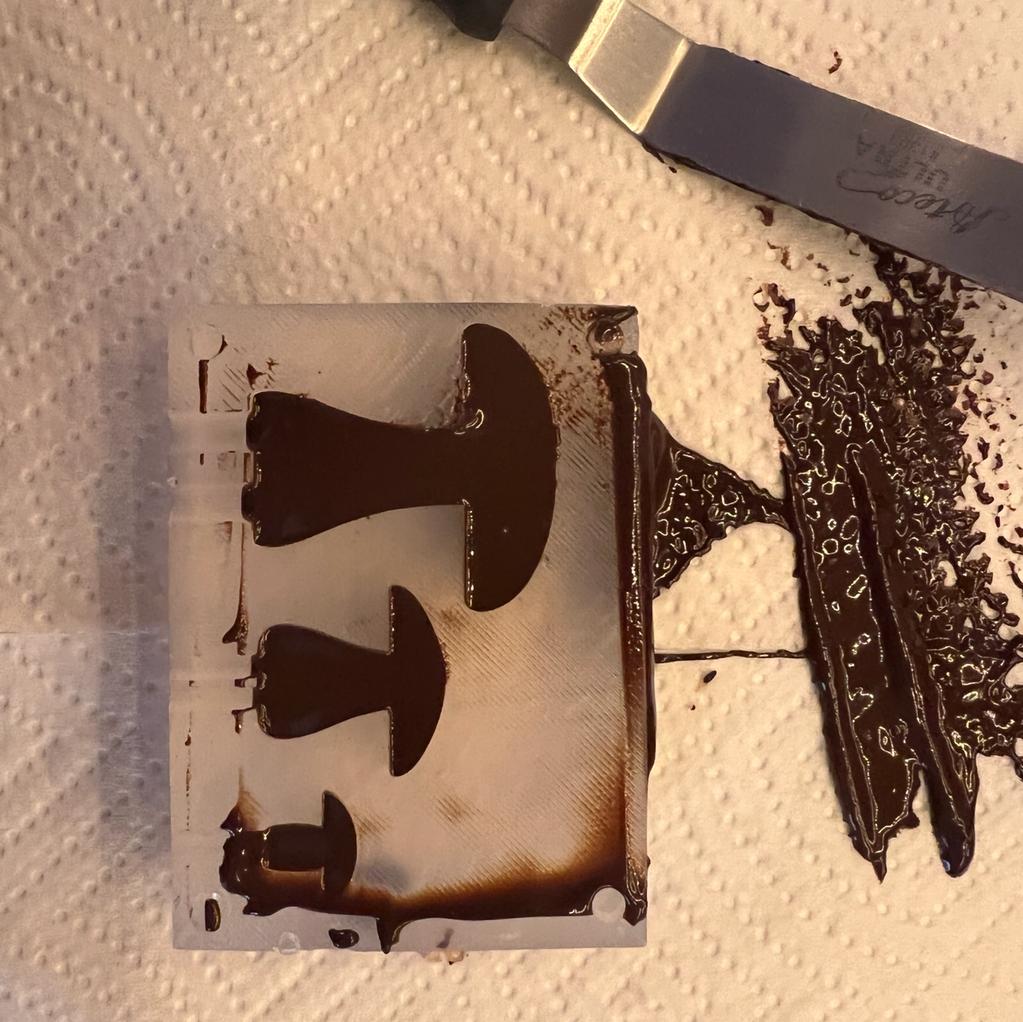
Then, I poured the liquid chocolate into both of my molds, evened off the top layer, and
put them in the freezer so they would firm up more quickly.
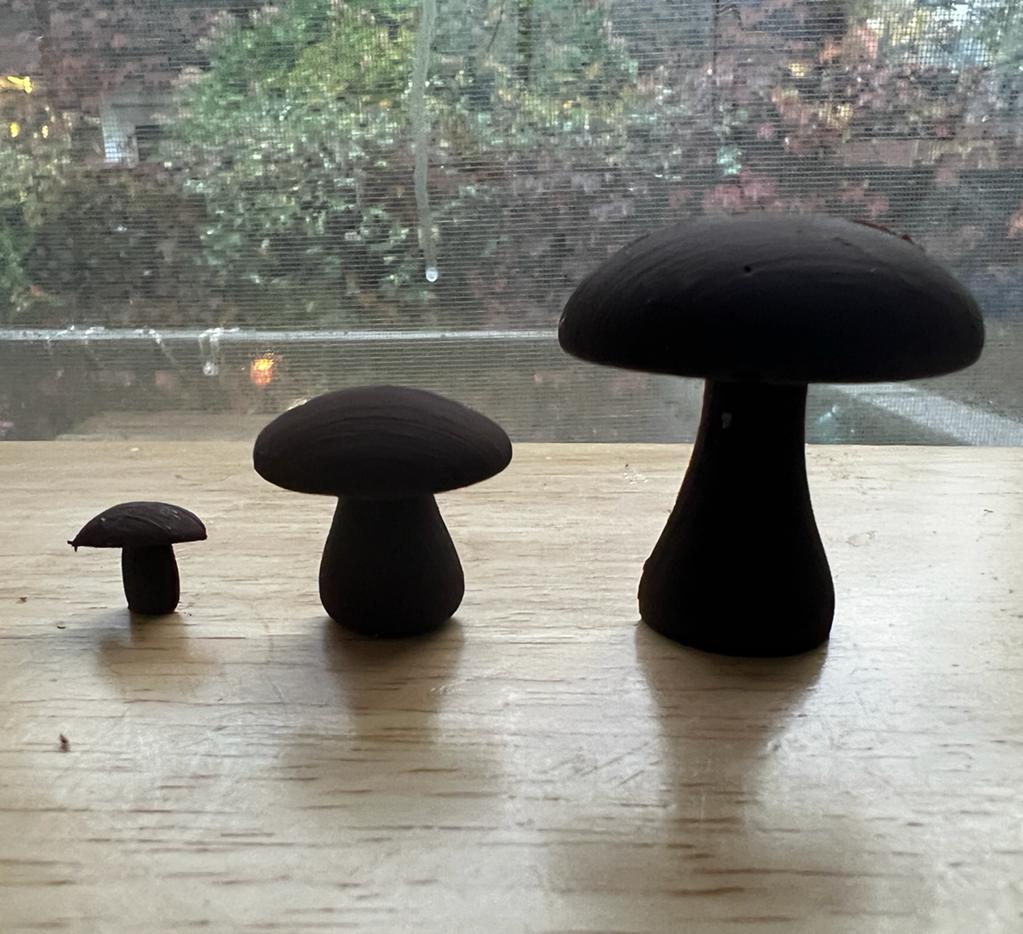
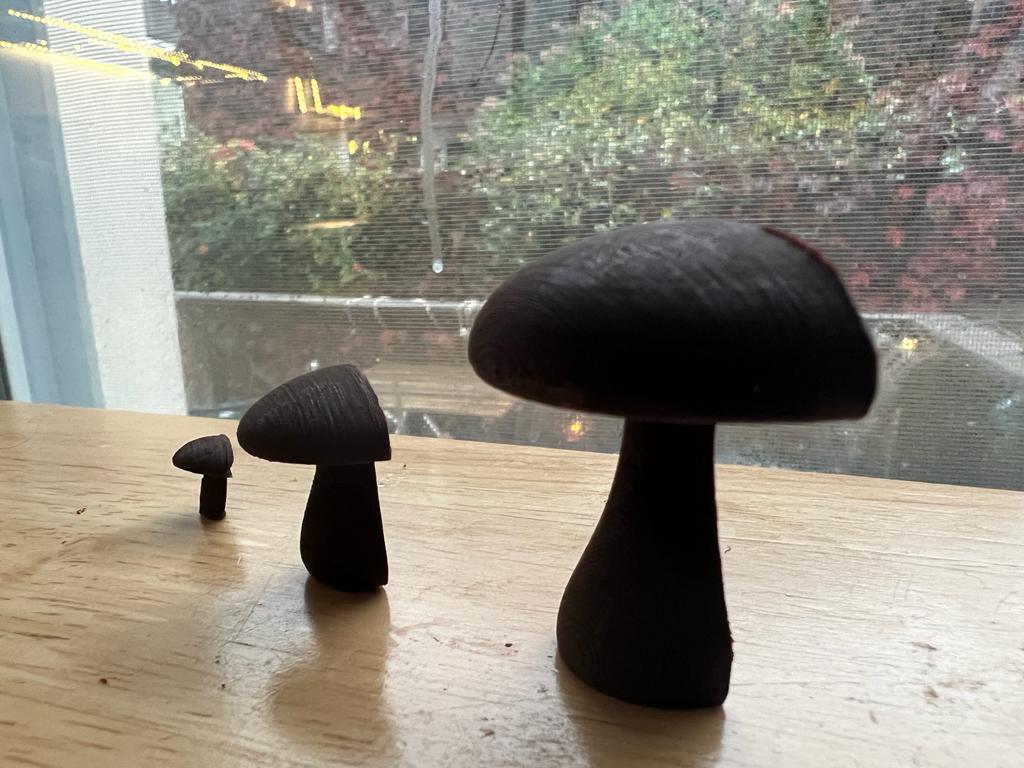
The 2.5D molds turned out well! The mushrooms' curves are smooth and it's fun to see them
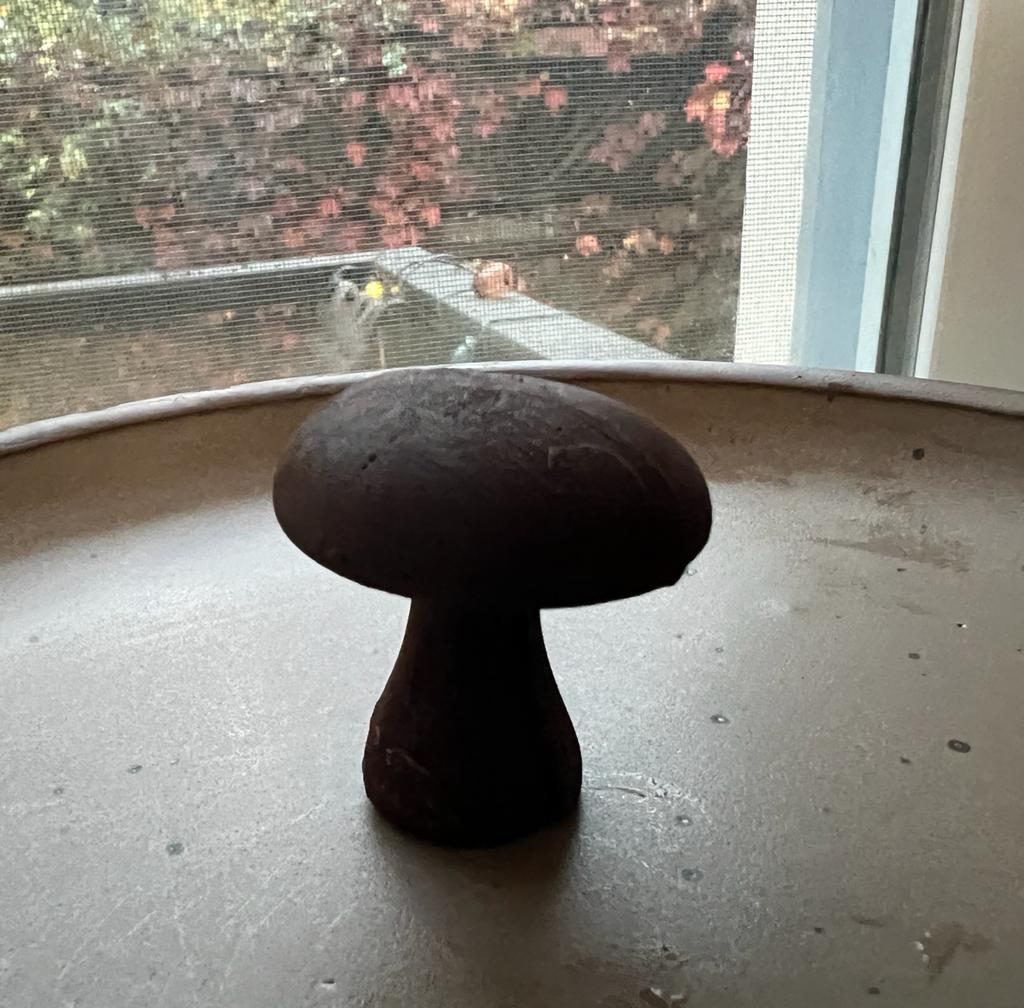
at different scales. I even fused the 2 big halves together with some extra liquid chocolate,
which is a quick solve to make the fully 3D mushroom.
Overall, this was a fun and time-intensive experiment. If I had some more time given my schedule,
I would have like to reprint my molds to try the full 3D experience.
Good Enough to Eat
